another parsons table

| 0 komentar |
chris recently finished another parsons table for a client in new orleans.  the parsons table is a classic design form, (the link is interesting) and i wrote a blog post about one that will made back in 2010.
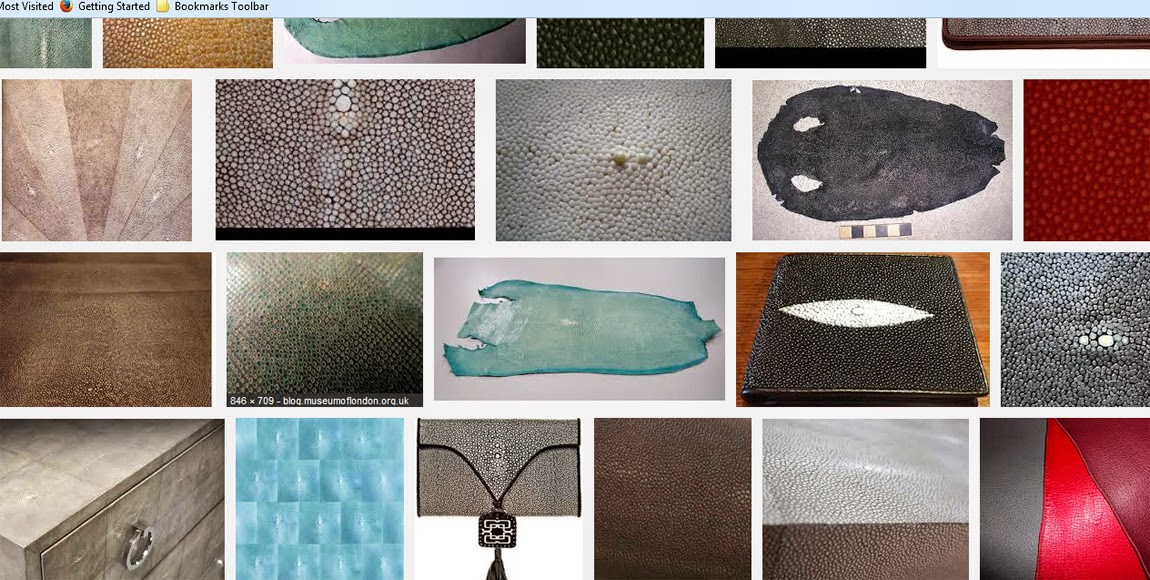
this one is going to be covered in shagreen, which under current usage, refers to the rough skin of a southeast asian stingray.  it has been used for a long time as a decorative covering for many different kinds of surfaces.  the table was delivered recently to mhg studio in long island city, new york.
here chris is gluing up the base before adding the mitered top to complete the table.
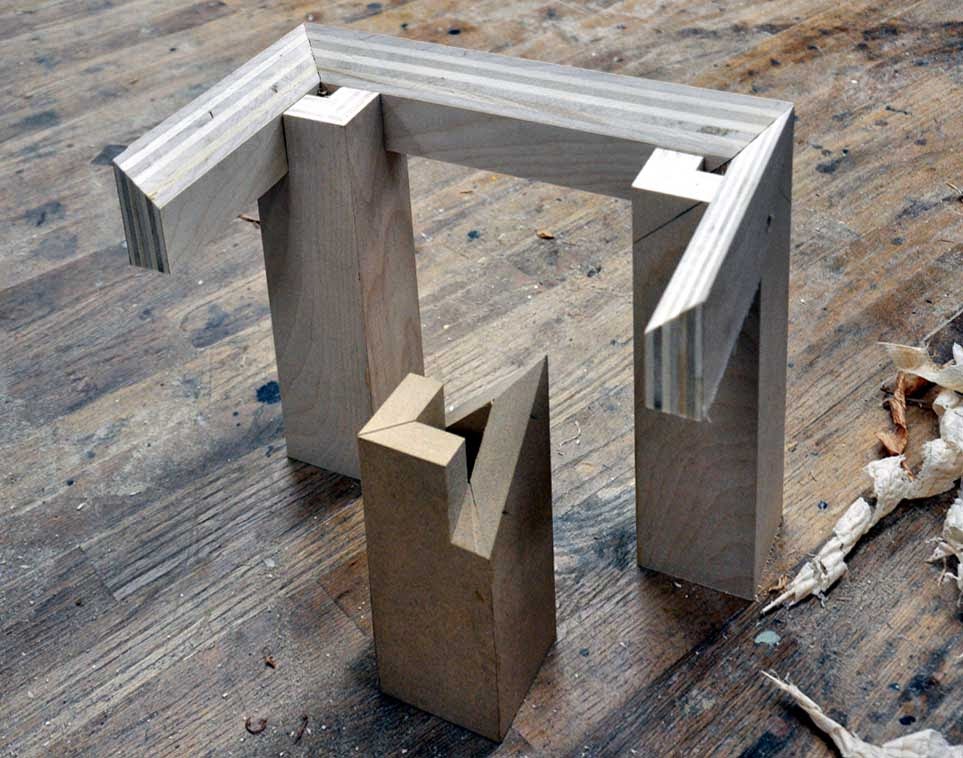
fortunately, or should i say miraculously, we were able to find will's original corner sample, which kept me from having to describe the various operations required to chris, and he could just have at it.
clean and crispy, with miters everywhere.
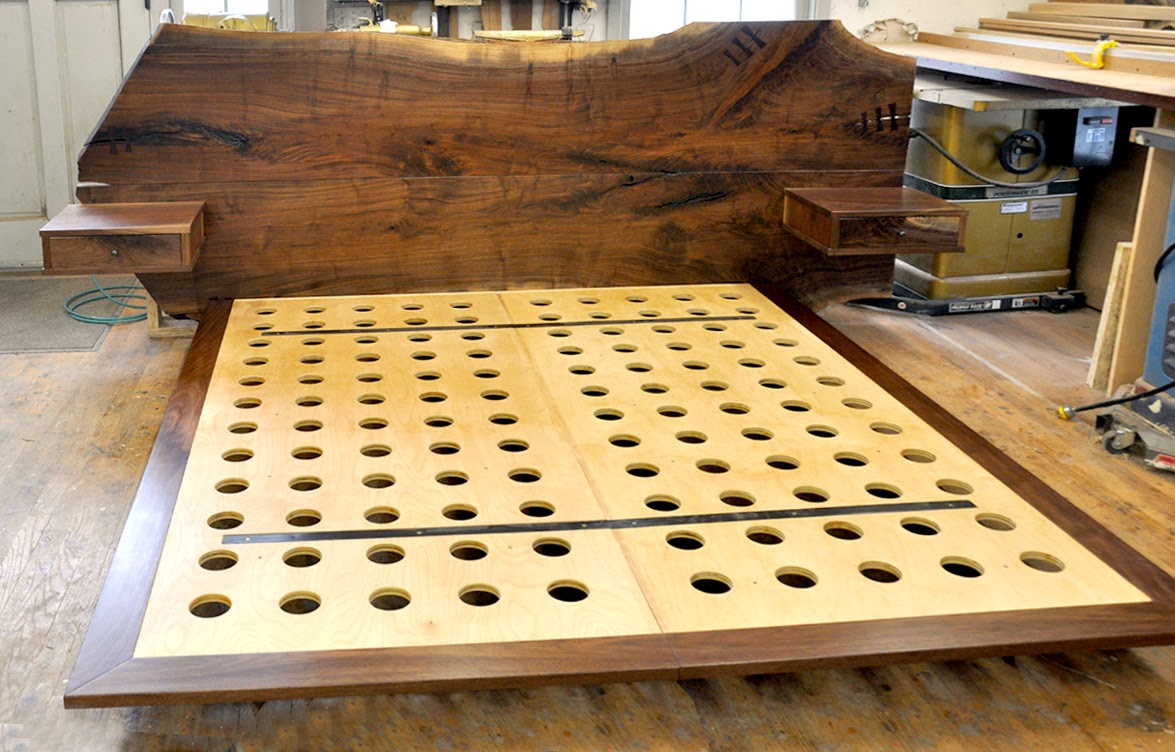
we used 3/4" baltic birch and plugged the holes in the bottom of the legs when it was finished.
looking forward to seeing the finished table..

and here it is .. 10/17/14
and it's lookin good ..
 
Read More..

Frame and Panels, a way for building furnitures......

| 0 komentar |
......offering many advantages:
1) Panels are thin and allow to lighten the structure and save wood

2) Frame can be jointed by tenon and mortice, a simple and sturdy way.
3) We can add mouldings and raised fields.
4) Panels are free of moving in the frame following the humidity changes.

But have a close view in the following video:


Read More..

N°1 Spiers Dovetail Plane

| 0 komentar |
This post has written by Vittorio


Thinking of metal planes I often think to Stewart Spiers


I like much the side profile and handles, so I searched for a model; I found it on the Handplane Central website, so I adapted the draw for a 2 inches blade and tried to building the plane.


I used Fe 430 steel bars (5x70mm) for sole and sides, joined the two sides in three points by countersunk screws (in this way the screws do not interfere while the pieces are clamped in the vice) and cut the tails.


  The mouth is opened by boring it with a 3 mm tip, hack saw blade and a 2,5 mm file. I obtained two angles, one of 47° (seat angle) and the other of 45° (wear angle).


The blade support (47°) is fixed by 3 iron rivets (dia. 6,5 mm)


The sole is prepared for jointing and the classical Spiers profile is cut. Beautiful but a little bit laborious.


Sanding by 80 grit abrasive paper (sides are screwed to a piece of wood)


During the tail peening, if joints are precise, 2 mm of extra length are enough, otherwise 3 mm are necessary for closing all gaps. 


Lever cap: I could not imitate the original because had not a model; however the job was acceptable for me.


The chipbreaker showed some rusted areas, so I sanded it (80 and 120 grit) and created the profile for a good adherence to blade at cutting edge.


The Sorby blade is 2" wide parallel iron (from e-bay); 25° bevel, 30° microbevel.


The cap iron screw (M8, 16 mm head) was built by welding together a rectangular nut with a screwed rod. 


Bun and handle are ash wood, stained and treated with shellac.
The M6 threaded spacers are inserted.  


I decided to fix all by screwing and rebating; unfortunately some trace remains after the sanding job too.


The sole is flat, the mouth is tight


I tried the plane on fir and beech, along the grain as well as across the grain. The results are very good and the plane does not get clogged.


Finally, I have got a Spiers


length 345 mm
Width 65 mm
Weight 3,366 Kg

Vittorio 


Read More..

a claro walnut slab headboard bed

| 0 komentar |
we finished this fun project yesterday for a client in northern vermont ... the headboard is 
a +/- 48 x 100" slab of claro walnut.  the design is based on the bed below
 that we made a few years ago for a client in florida.
we started, as usual with a cad drawing and a mockup .. click the photos to enlarge them ..
the client accepted the concept and we were on our way ..
in this photo, we've got the plywood box for the platform and the ventilated ply tops cut. 
in the end, we cover the ply boxes with dark stained walnut and edge the plywood with the same material ... in this photo we are locating the boxes prior to drilling holes in the slab for the carriage bolts that secure the boxes to the slab.
the boxes were cut from continuous pieces of claro so that the mitered grain of the boxes matched as it went around the corners.  they looked really slick ..
we added our custom cast patinated brass diamond pulls to the drawers and we were good to go.
the slab will be hung on the wall at the clients home using the same system of 'french cleats' that we used on the first bed .. here's a link to that blog post where you can see how that works ..
photographing projects like these is always a challenge due to their size, but with a little photoshopping to remove the background clutter, you can get an acceptable 'record' image.  
not quite like the recent photo in the times of a new york city bed.  that one has a new york city price on it too.our version is a bit less in price.  neither of these are original ideas.  i had a client/friend visit the shop yesterday, and his parents had an (according to him) identical bed, only with a glued up rather than one piece headboard.  he remembered them having it in the 60s at least, maybe earlier. 
recylce, reuse ...
for more images of our claro walnut and other furniture please 
see the slide shows in the previous blog post ..

note below from the client enclosed with the final payment ...
Read More..